
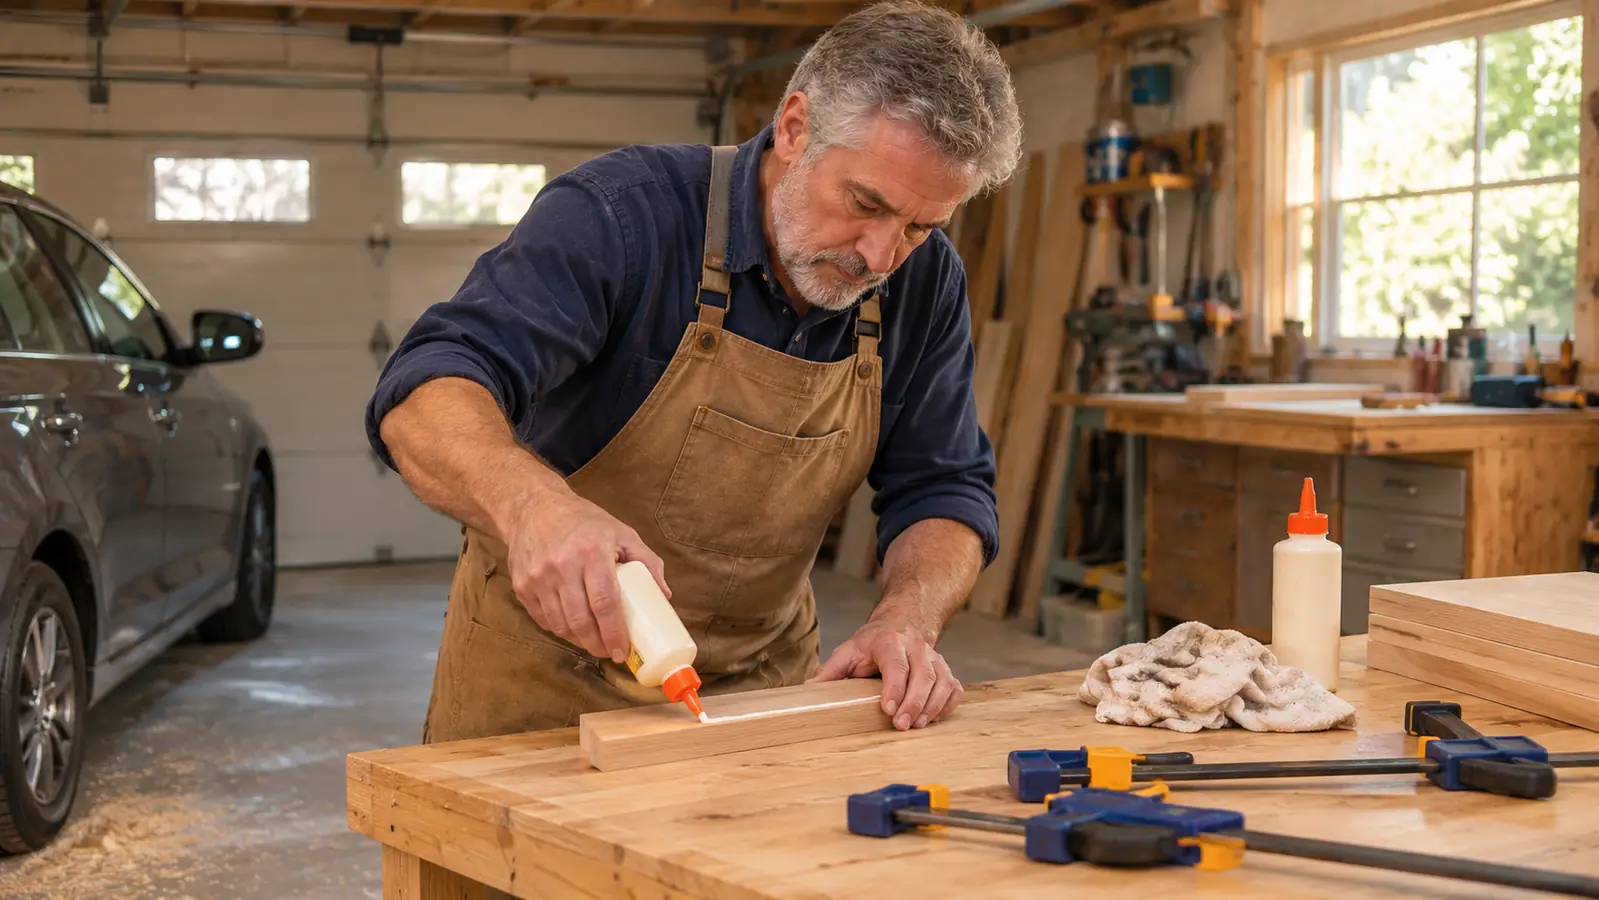
The first glue-up I ever clamped up on my own, back when I was young and in a hurry, came out of the clamps with a bow in it you could rock a chair on. I had used too few clamps, I had put them in the wrong places, and I had tightened the daylights out of the two I owned. The joint held fine. The panel was firewood.
I spent 34 years as a finish carpenter before I retired four years ago, and I have built furniture in my garage shop outside Boise for twenty. Most of what I know about clamping I learned by ruining boards. These days the clamps I reach for on anything small are the IRWIN Quick-Grip 6-inch one-handed mini bar clamps. I keep exactly four of them, and this is the sequence I run with them.
Four clamps that tighten with one hand, so your other hand can hold the joint closed
The IRWIN Quick-Grip 6-inch mini bar clamp is the size that handles drawer parts, small panels, jigs and stop blocks. Four in a pack, 140 pounds of clamping force each.
Amazon Check Today's Price on Amazon →Before You Touch the Glue Bottle
A glue-up is not a clamping problem. It is a preparation problem that shows up while you are clamping. If the boards do not come together dry, cleanly, without force, no amount of clamping pressure will fix it. It will just make the gap narrower and harder to see.
So dry-fit first, every time. Lay the boards out on the bench, bring them together edge to edge, and look down the seam with a light behind it. If you see daylight, stop and figure out why. A slightly high spot on an edge, a bit of machine burn, a board that cupped after you ripped it. Take a plane or a sanding block to it now, because once the glue is on you have about 8 to 10 minutes to think.
While it is dry, lay your clamps out where you can reach them. Count them. Then figure out where the cauls and the square are going, because you will need both hands free at the worst possible moment.
Step 1: Lay Out the Clamps Before the Glue Comes Out
Alternate your clamps over and under the panel. One clamp across the top, the next one across the bottom, and so on. Clamping all from one face pulls the panel toward that face and you will fight a cup the whole way. Alternating cancels it out.
Space them evenly and closer together than feels necessary. A rough rule: no more than about 6 to 8 inches between clamps on a panel glue-up. With four 6-inch clamps I can handle a small panel, a drawer box, or a set of end table aprons. When I glued up the aprons and drawer fronts for the shaker end tables this year, a dry run showed me all four clamps landing within a hand's width of each other in the middle, with both ends wide open. I moved two of them out to about 2 inches from each end and let the other two split the middle. That one change is the difference between a closed joint and a hairline gap at a corner, and a hairline gap at a corner is not something you can fix after the fact without cutting the whole joint apart. If the piece is wider than my four clamps will cover properly, the pipe clamps come out instead. The mini clamps do not clamp a tabletop. They were never meant to, and I have never asked them to.
Set each clamp so the jaws are open wider than the workpiece before you start. Open them all the way on the bench, not while your fingers are sticky. I set all four in a row at the front edge of the bench, triggers facing me and bars pointing the same direction, so my hand knows where to go without looking. Sounds fussy. It buys back a minute you will want later.
Step 2: Spread the Glue Evenly and Sparingly
I use Titebond III for every glue-up in this shop, and have for about 12 years. It gives me roughly 8 to 10 minutes of working time, which is enough to get four clamps on if I have done Step 1 properly, and not much more. I know how long that window really is because I have timed myself on a scrap clock. On a drawer box with all four clamps laid out and open, I can run glue on every edge, set the parts, and have each clamp seated in a little under six minutes. What eats the rest of the window is standing there deciding where the second clamp goes. Decide before the bottle is open and the clock stops mattering.
The mistake I see most is too much glue. A thin, even film on both faces is all a joint needs. If you can see a bead standing proud of the wood before you clamp, you have already overdone it. Run a glue brush or your finger down the edge to spread it out and take off the excess.
One more thing, because my shop is unheated except for one small electric heater. Titebond III does not like cold. Below 47 degrees it will not cure properly, and in an Idaho winter that garage gets colder than that overnight. I bring the bottle indoors with me the night before, warm the shop first thing in the morning, and do not glue until the thermometer on the bench says I am clear. It is a cheap thermometer and it has saved more joints than any tool in the shop. Glue that has gone chalky from sitting in the cold will fail a joint that looked perfect in the clamps.
Step 3: Close the Joint by Hand, Then Bring the Clamp to It
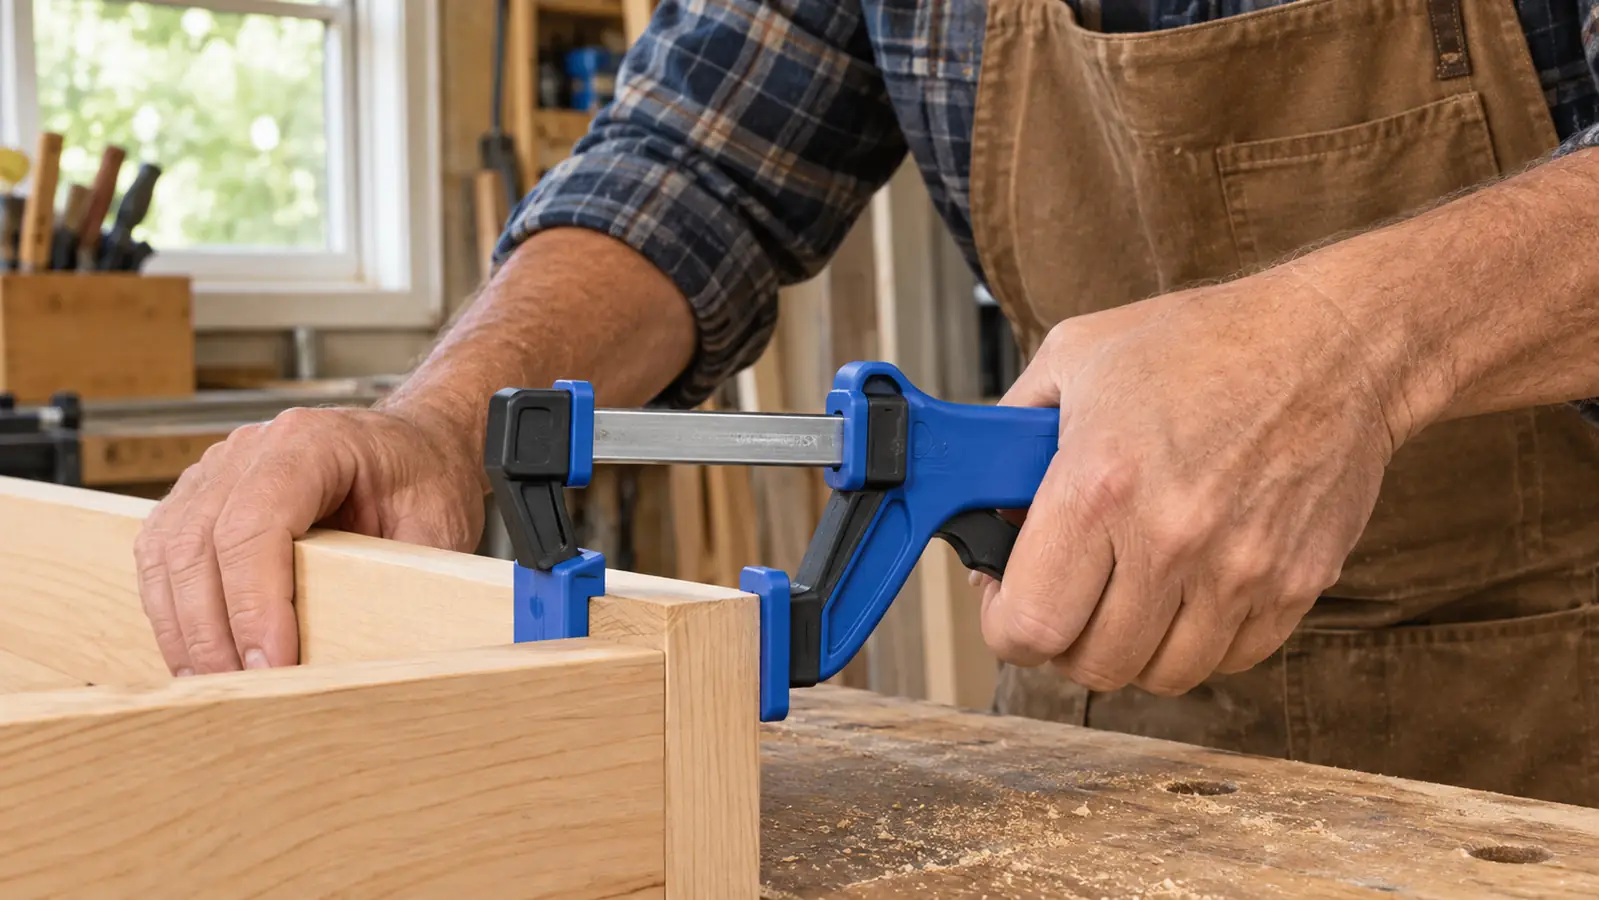
Bring the boards together by hand first. Push the seam closed, feel it seat, and hold it. Only then does the clamp go on.
Here is where the one-handed clamp earns its place in my shop. I squeeze the trigger with my palm while my other hand keeps the boards aligned and flush at the ends. If I had to let go to work a two-handed clamp, the joint would slide. I have watched it happen on the pipe clamps a hundred times, and the fix is a clamp I can set with one hand. I learned that the hard way on a set of drawer parts years ago: a pipe clamp in one hand, the assembly in the other, and the whole thing came apart on the bench in the time it took to reach for the second clamp. Nothing clever about the answer. It just lets one person be two hands.
Seat the jaws on the faces, not on the edges. The soft pads on these clamps are there to keep from denting the wood, and they do their job, but a pad on a corner still leaves a mark on soft stock. Put the jaw across the face and let it bear flat.
A thin, even film on both faces is all a joint needs. If you can see a bead standing proud of the wood before you clamp, you have already overdone it.
Step 4: Tighten Until the Glue Squeezes Out, Then Stop
Tighten each clamp a little, then move to the next one, then come back around. Do not take one clamp from open to fully tight before you touch the second. You will pull the panel out of alignment and starve the joint at that end.
How tight is tight? Watch the seam. When a thin, continuous bead of glue squeezes out along the whole joint line, you are there. Stop. The clamp will take 140 pounds of force and it does not need all of them. More pressure than that does not make the joint stronger, it just pushes glue out of the wood and leaves you a dry joint and a lot of sanding. Cherry will tell you when you have gone too far. On the bookcase I built two winters ago I over-tightened one clamp on a shelf and put a shallow dish in the face, and I had to take an eighth of an inch off the whole shelf to get it flat again. Since then I tighten to the bead and stop, and I have not had to plane a clamp mark out of anything.
The resin bodies and hardened steel bars on these IRWIN clamps do not flex under hand pressure the way a bargain clamp does, so what you feel at the handle is close to what the joint is getting. Squeeze the trigger until it stops advancing, give it one more honest squeeze, and leave it. There is a quick release on the trigger when you are done, and you will be glad of it at teardown. My arms have never come close to the limit of these clamps on the size of work I use them for.
Step 5: Check for Square and Flat Before the Glue Sets
This is the step most people skip, and it is the one that decides whether you built a panel or a pringle. You have 8 to 10 minutes of open time and then a slow window after that. Check now.
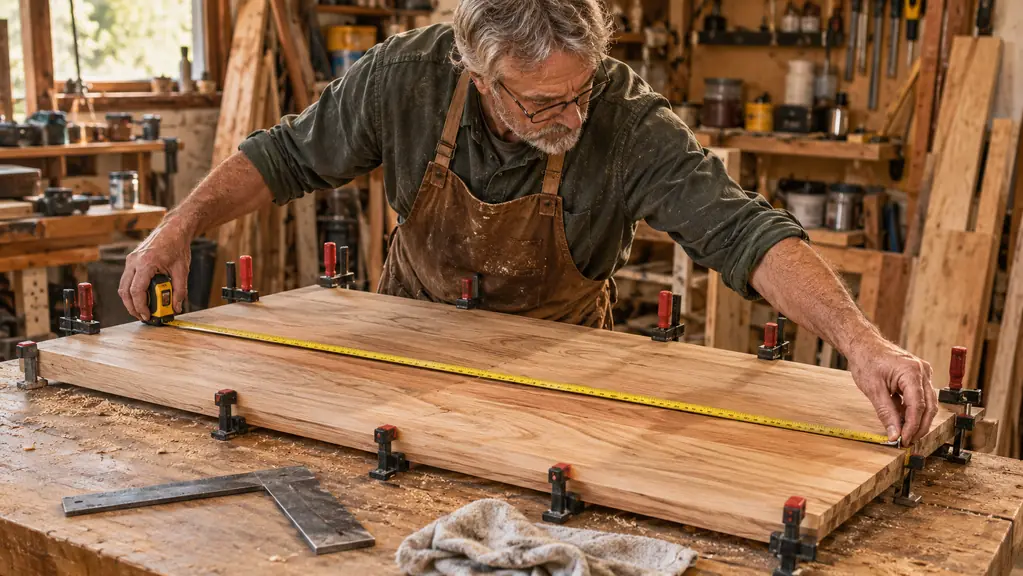
Set a combination square across the diagonal of the panel, corner to corner, and remember the reading. Flip it to the other diagonal. If the two readings match, the panel is square. If they do not, the long diagonal tells you which way it is racked. On an 18-inch square panel, an eighth of an inch of difference between the two diagonals is a panel that will fight you all the way through assembly. Nudge the high corner with the heel of your hand, or tap it with a mallet, and re-check. Do this while the glue is still slippery. I use the 12-inch IRWIN combination square for this, laid flat on the face so the blade is not riding on a bead of squeeze-out.
Then get down at eye level and sight down the panel for flatness. Any twist you can see now is twist you will be planing out later, and there is always more of it than you think. A straightedge laid across the seams will show you a high board immediately.
Leave it alone for at least an hour in the clamps, and leave the joint a full 24 hours before you put any stress on it, which means no planing, no sanding, and no standing the piece up against the wall to admire it.
What Else Helps
Two things I would add to the list if you are clamping up regularly. First, wax paper or a strip of plastic under the joint. Squeeze-out lands on the bench and glues your panel to it, and you will not notice until you try to lift the piece. Second, a damp rag within arm's reach, because Titebond III cleans up with water while it is wet and not at all once it has cured. Wipe the squeeze-out at the first clamp, not at the last.
And if you are clamping something wide, stop trying to make four small clamps do a job that wants six pipe clamps. I still own my pipe clamps and they come out for every tabletop. The mini clamps live on the bench for drawer parts, small assemblies, jigs, and holding a stop block while I set a fence. Knowing which clamp belongs on which job is most of the skill.
One last habit worth building: do a full dry run with the clamps in place and the glue still capped. Fit the boards, set every clamp, tighten them, check the square, then take it all apart. If something is going to go wrong, it will go wrong in the dry run, when you can still fix it with a plane instead of a chisel.
The clamp that lets you hold the joint and close it at the same time
Four 6-inch one-handed bar clamps, 140 pounds of force each, hardened steel bars that will not flex. This is the set I have kept on my bench for three years.
Amazon Check Today's Price on Amazon →