
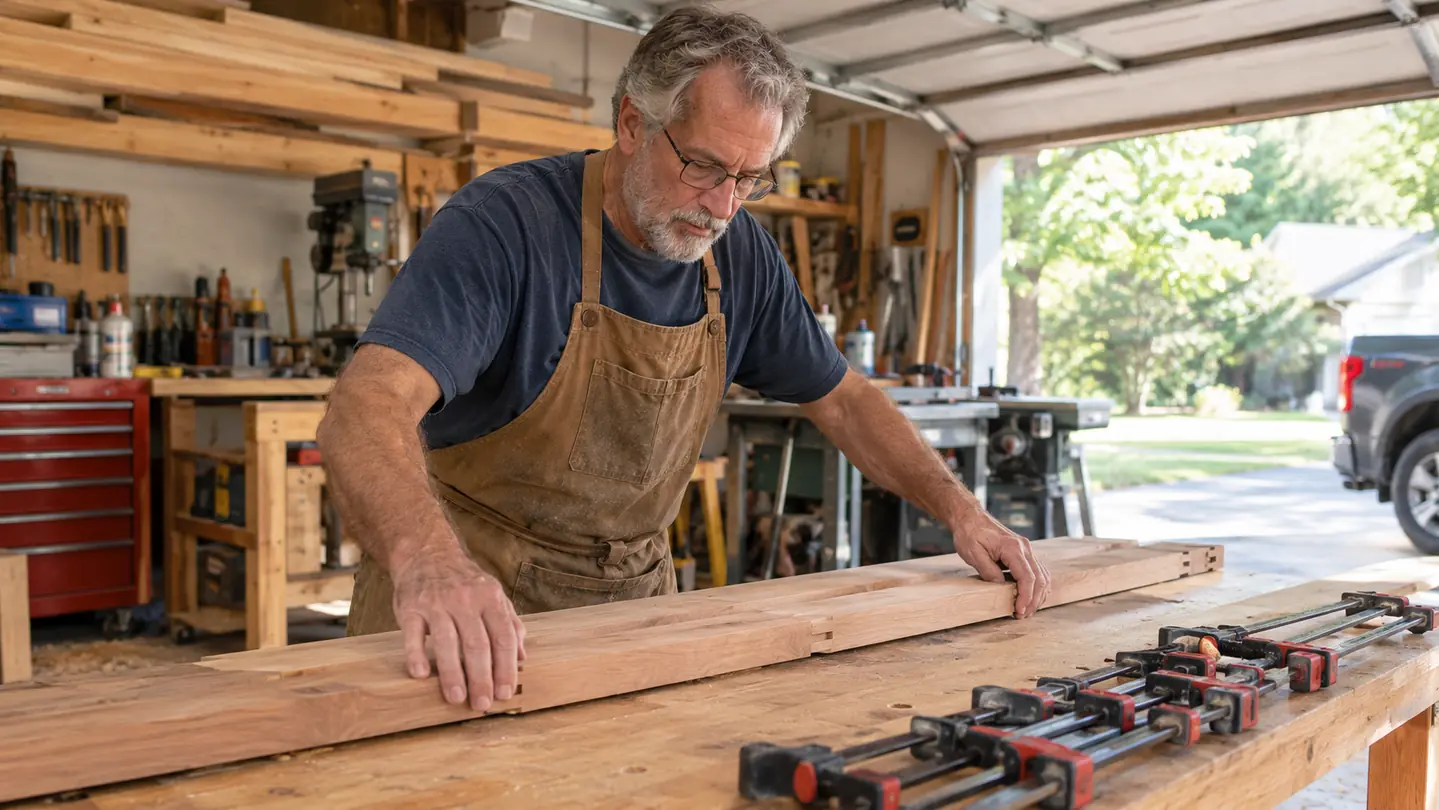
A tabletop is the first glue-up most people attempt where the size of the panel works against them. A drawer box you can pick up and turn over in your hands. Four boards wide and six feet long is a different problem. The joints run edge to edge for the full length, the glue starts to grab while you are still reaching for the next clamp, and if the panel comes out of the clamps with a crown in it, you get to spend an afternoon with a hand plane learning how much thickness you can afford to lose. I have made every one of those mistakes, more than once.
I built the walnut dining table for Marit in this garage last winter, and the cherry bookcase the winter before that. Every panel in both came together with Titebond III, the sixteen-ounce bottle, which has been my shop glue for about twelve years now. Nothing here is a shortcut. It is a sequence, and the sequence is what keeps a glue-up from turning into a panic.
Eight to ten minutes of open time is the whole reason a panel this size is possible
Titebond III gives roughly eight to ten minutes of working time at room temperature, cleans up with water while it is wet, and holds a waterproof joint rated for interior and exterior use. On a six-foot glue-up that window is the difference between four boards and two boards glued twice.
Amazon Check Today's Price on Amazon →Before You Start: Two Things That Decide the Outcome
The first is the edge itself. You cannot clamp a gap shut and expect it to stay shut. Both mating edges need to be straight over the full length and free of any slight hollow, because glue is not a gap filler and never has been. I joint one edge, then take the opposite edge to the table saw, and I check the result by holding two boards together against the light. If I can see daylight through the middle, the edges are not ready and nothing that happens afterward will fix it.
The second is temperature. Titebond III should not be used below 47 degrees, and I mean the glue as much as the room. Winters here are cold and dry, and my shop is unheated apart from one small electric heater. From November through March the bottle lives indoors with the house, and I bring it out only after the heater has taken the worst of the chill off the concrete. A cold bottle runs thick, spreads unevenly, and the open time you thought you had is shorter than the bottle says.
There is a third thing, and it costs nothing: rehearse the whole glue-up dry, with no glue, before you open the bottle. Walk the sequence from first clamp to last with a clock running. If the rehearsal takes longer than ten minutes, you need a second pair of hands or fewer boards in the panel.
Step 1: Mill the edges true and lay the boards out dry
Get both mating edges straight before anything else. On my contractor table saw that means a straight-line jig for the first pass and the jointed edge against the fence for the second. The edges do not have to be square to the face yet. They have to be straight, and they have to be straight along the whole length, because a tabletop joint is unforgiving about a hollow in the middle.
Then lay the boards out on the bench and look at them as a panel, not as four separate pieces. Match the grain so the cathedral figure does not jump from one board to the next. Flip alternate boards so the growth rings alternate, one cupping up and the next cupping down, which spreads the seasonal movement instead of letting it add up. When the arrangement looks right, number the ends in pencil and strike a small triangle across the joints. That mark is how you put the panel back in the same order after you have picked up a board and forgotten which way it went.
Clamp the dry panel up and look for light at each joint. If a joint needs more than light hand pressure to close, take it apart and fix the edge. A gap you force shut in the clamps is a gap that opens again the first dry week in January.
Step 2: Set out every clamp and caul before the glue comes out
My pipe clamps do the tabletops. I own six and a wide panel can take all of them, spaced roughly a foot apart along the seam. The little Quick-Grip mini clamps in the drawer hold drawer parts, jigs and stop blocks. They do not clamp a tabletop, and if you are reaching for them mid glue-up you have planned the job wrong.
Set the clamps open on the bench, jaws roughly where they need to be, bars parallel to the joint. Put straight cauls on top, hardwood or melamine-edged, waxed or wrapped in tape so squeeze-out does not weld them to the panel. Wax paper under the whole assembly catches the drips. A damp rag and a small brush go within arm's reach, not across the shop, because you will need both inside the working time.
Check that the clamps actually reach. A pipe clamp bar that is two inches short when the panel is spread out on the bench will not grow longer once the joints are slippery. Lay the boards in the clamps dry, tighten until the joints close, and confirm you have the reach and the clearance before a single drop of glue is on the wood.
Step 3: Run one bead and spread it into a thin, even film
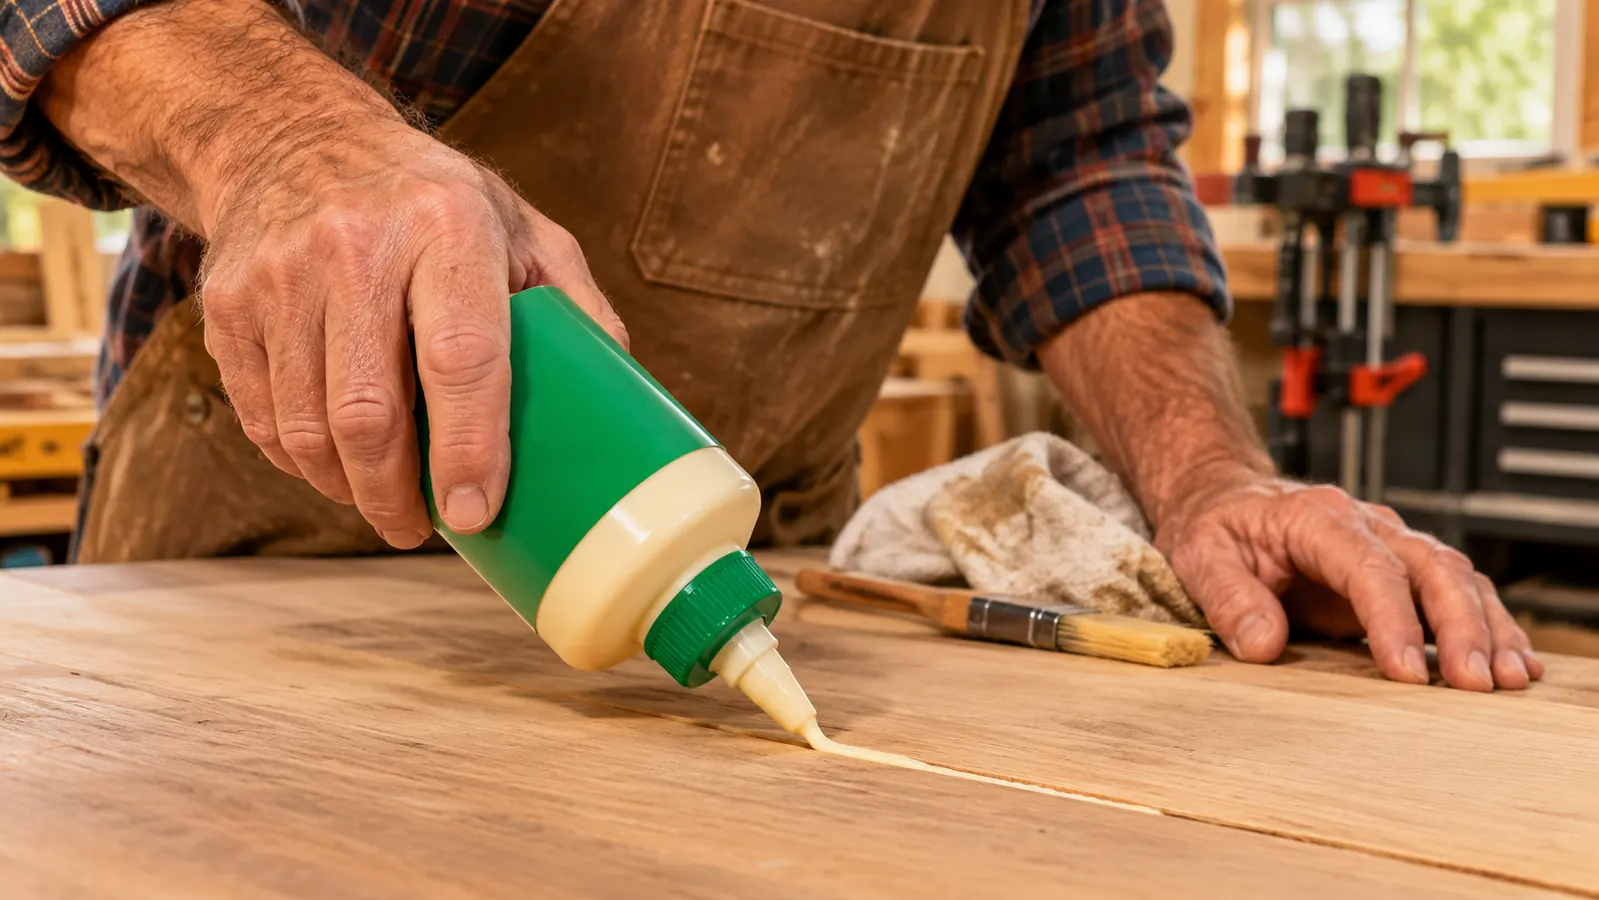
Glue one edge of each joint, not both. Run a bead down the length and spread it with a small brush or a fingertip until the whole width of the edge carries an even film. Clamping transfers the glue to the mating face, so one side is enough, and spreading it means you are not relying on clamp pressure to distribute a fat bead that may never reach the end of the board.
Amount matters more than people expect. Too little and the joint is starved, which looks fine and fails quietly months later. Too much and you spend the next hour scraping. The right amount is the amount that gives you a continuous bead of squeeze-out along the entire seam when the clamps come down. If the squeeze-out stops halfway, the joint is dry at that end.
Work in one direction and keep moving. Eight to ten minutes goes quickly on a six-foot panel. Two boards at a time, clamp and move on, is slower but safer than trying to butter four joints and clamp them all before the first one grabs. If you have help, use it. If you do not, glue the joints in pairs and treat it as two glue-ups that happen to make one tabletop.
If I do not get a continuous bead of squeeze-out down the whole seam, I take the panel apart and start over. A starved joint looks fine for a week, and then it does not.
Step 4: Clamp from the middle out and keep the panel flat
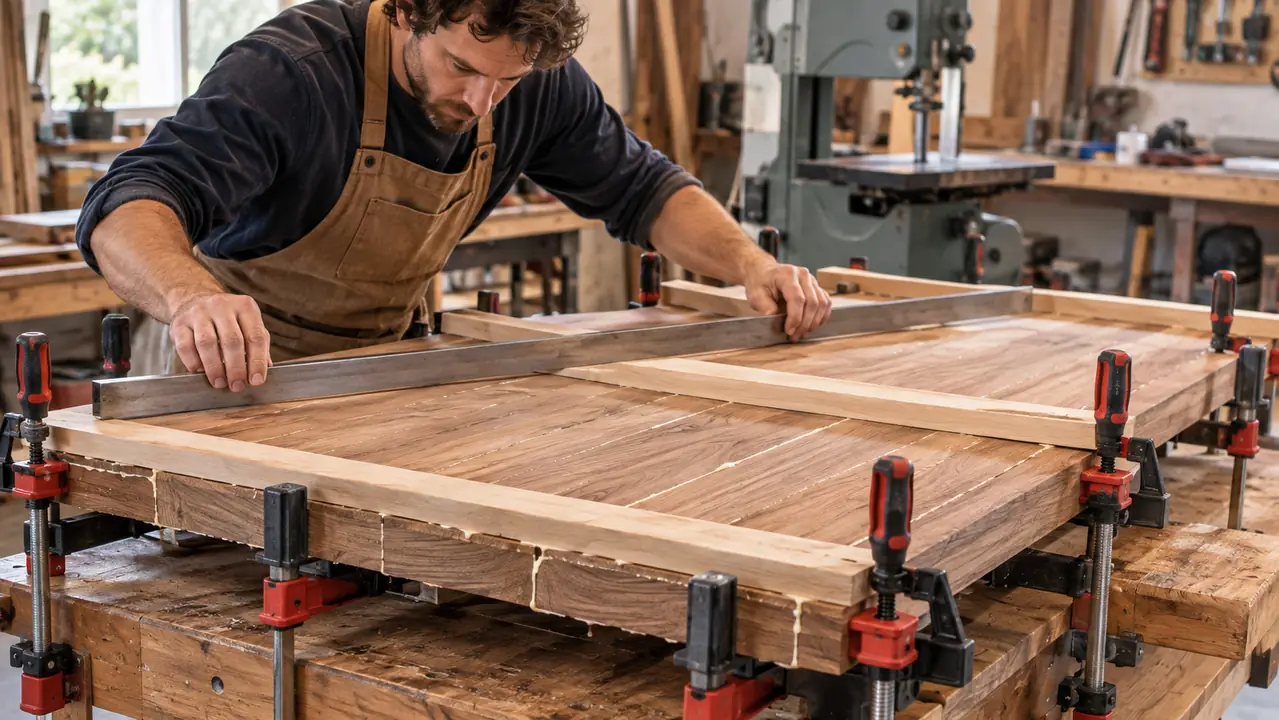
Start with a clamp near the middle of the panel and bring the joint together there first, then work outward toward both ends. Alternate the clamps above and below the panel as you go, so the pressure pulls the boards together instead of bowing the whole assembly down against the bench. Run a finger along the seam as each clamp comes down and feel for the boards stepping out of flush.
Once the clamps are snug but not final, lay a straightedge across the panel in three or four places. A slight crown at this stage is easy to pull out with a caul and a clamp on top. The same crown discovered tomorrow morning is a planing job. This is the two minutes in the whole process that saves the most lumber, and it is the two minutes people skip.
Then finish tightening, firmly but not with your whole weight. More clamp pressure does not make a better joint once the squeeze-out is continuous, and it can starve one. Wipe the squeeze-out with a damp rag while it is wet, because Titebond III cleans up with water now and does not clean up at all later. Check the ends with a straightedge as well. Boards like to slide lengthwise under pressure, and a half inch of slip at one end is a lot of trimming.
Step 5: An hour in the clamps, a full day before you stress it
Leave the panel clamped for at least an hour, undisturbed. Do not lift it, do not slide it, do not check whether it has set. In a cold shop, give it longer. This is the part of the job where the best thing you can do is go inside and let it alone.
Then take the clamps off and leave the panel a full 24 hours before you put any stress on it, which includes planing, sanding with any pressure behind it, or cutting it to final size. The joint has stopped being wet long before it has stopped moving. If you are working below 47 degrees, do not do the glue-up at all until the shop warms up, because cold glue and cold wood will give you a weak joint that fails in a way you will blame on the lumber.
After a day, scrape the squeeze-out with a card scraper or a chisel held flat, then flatten the panel with a hand plane or light passes through a drum sander. Titebond III dries to a light tan, and on a light wood under a clear finish the glue line can show if you left a heavy film on the surface. Scrape it back to bare wood rather than sanding it into the fibers. Then let the finished panel sit a few days in the room it will live in before you build it into a frame, so it has a chance to move where it wants to move.
What Else Helps
A sharp plane iron makes the flattening stage short instead of miserable. Mine comes off the Norton oil stone at 30 degrees on a 25 degree bevel and finishes on a leather strop, and after a wide panel it needs a touch-up before it goes back in the plane. A dull iron on a glued panel tears the grain at the seam and leaves you sanding a hollow you created yourself.
Straight cauls are worth making and worth keeping. Two hardwood strips with tape on the faces, long enough to span the panel, will hold a tabletop flat through the whole cure. The combination square comes out to check that the panel is square once it is out of the clamps, because a panel that is flat but out of square wastes more wood than a panel that is slightly crowned.
One honest limit. Titebond III is waterproof and approved for indirect food contact, which is why it is the glue I use on cutting boards as Christmas gifts, but it is not a gap filler and it does not make a bad joint good. If the edges are not true, no bottle of anything will hold that panel together for twenty years.
The bottle has been on the shelf for twelve years and it has not lost the job yet
Sixteen ounces goes a long way when you spread a thin film instead of laying a fat bead. It cleans up with water while it is wet, holds interior and exterior joints, and takes a finish once you scrape the squeeze-out back to bare wood.
Amazon Check Today's Price on Amazon →