

A square line is not the line you draw with a square. It is the line you trust when the saw is already running. I learned that the slow way on a walnut dining table for Marit last winter. I had a tape and a speed square on the bench, and I marked four legs from what I thought was the same face. Two of them came out a hair off. Not enough to see on the bench. Enough to feel when the apron went on. I had 34 years of trim and cabinet installs behind me and the mistake still got past me, because a tape hook wears and a speed square only registers off one edge at a time. I pulled those joints apart, re-marked every leg from one true face, and finished the table with my IRWIN combination square. That 12-inch stainless steel blade and metal body have been in my shop for three years now, and they do the one job I need most: they give me a line I can take to the saw without second-guessing it.
The IRWIN combination square is not a complicated tool. The blade is stainless steel with black etched scales in 1/16-inch graduations, the body is metal, and the body marks 90 and 45 degrees. The blade slides and locks with a knurled nut. You can use it as a depth gauge and a marking gauge. That is the whole inventory. There is no battery, no adjustment screw to fuss over, nothing to calibrate against a manual. The skill is in how you hold it and what you register it against. I rebuilt my hand tool kit the first winter after I retired, and this square was part of that kit. Here is the sequence I use in my two-car garage shop outside Boise, on everything from a cherry bookcase to shaker end tables.
The square I reach for before the pencil comes out
A 12-inch IRWIN combination square lives on my bench, not in a drawer. If you want the same starting point for square lines, look at the tool here.
Amazon See the IRWIN Combination Square on Amazon →Step 1: Check the square before you trust the line
Set the blade in the body and tighten the locking nut. Then do the flip test. Hold the body against a straight edge and mark a line along the blade with a sharp pencil. Flip the square over, put the body on the same straight edge, and mark the same line from the other side. If the two lines land on top of each other, the square is true enough for furniture. If they split, stop. A square that is out will mark a bad line every time, and no amount of careful sawing will fix it. I use a 24-inch steel rule as my straight edge because I know it is straight. A jointer fence works too, and so does the factory edge of a good piece of plywood, as long as you check that edge first.
I checked my IRWIN square this way when it came into the shop three years ago. It was true. I still check it once in a while, especially after it has been in a drawer or under a pile of offcuts. The metal body and stainless blade will take normal shop life, but they will not take a drop onto concrete without a question. I knocked this square off the bench two winters ago and it landed on the corner of the body. That one never read right again. The check takes less than a minute. The walnut for a tabletop is not less than a minute.
You do not need a fancy setup for this. A known straight edge and a sharp pencil are enough. The point is to prove the tool before the tool proves you wrong.
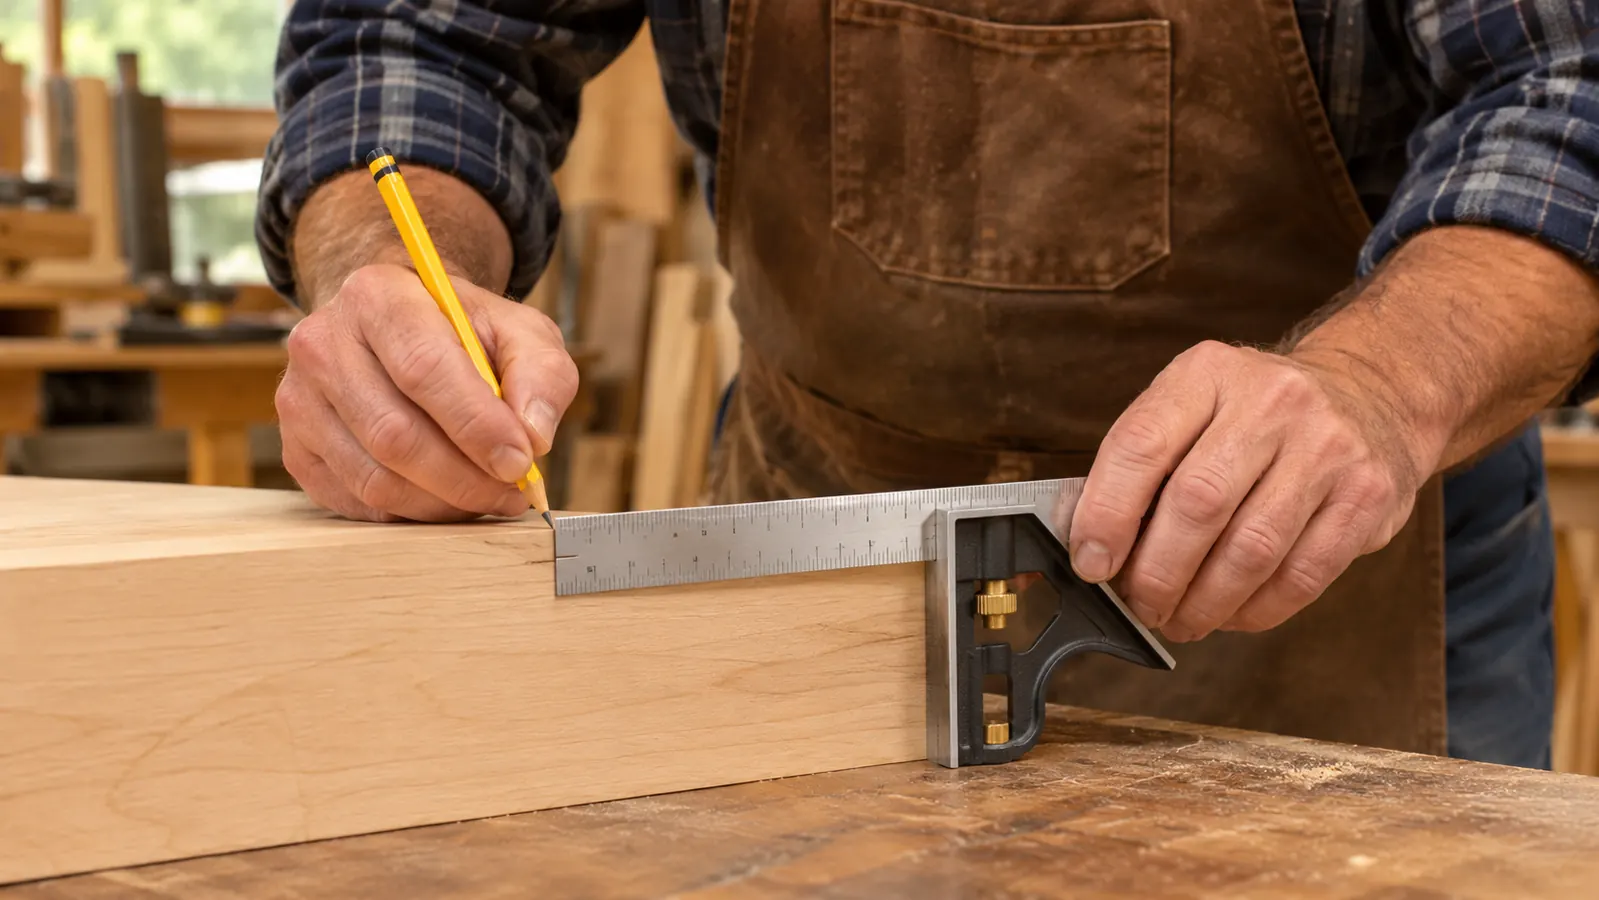
Step 2: Register the body on the face you will keep
Every board has a face side and a face edge. On a planed board, that is the face you pick after you look at the grain and the cup. Once you pick it, mark it with a small pencil mark. Every square line in the project should come off that face, not off the rough side and not off whichever edge is closest. When I mill stock, I joint one edge and face, then plane the opposite face parallel, and only then do I have two surfaces worth registering against. That order is not a preference. It is what makes the line mean anything.
Set the body of the IRWIN square flat against the face edge. Press the full length of the body, not just the corner. If the body is riding on a high spot or a bit of dry glue, the blade will sit off square and you will mark the error into the board. On the cherry bookcase two winters ago, I jointed one edge, checked it with the square, and used that edge for every shelf. The second edge got planed to the line after. That order matters, because a shelf marked off a bad edge goes into the case crooked and takes the whole carcase with it. I caught one that way on the first dry fit and had to remake it from a fresh board.
If the board is too wide for the 12-inch blade, mark from the face edge as far as the blade reaches, then slide the square and continue from the same face. Do not flip the square to the other side of the board and hope the two edges are parallel. They are not, until you make them so. On a tabletop glue-up, this is where a lot of people go wrong, and it shows up later as a seam that will not close.
Step 3: Hold the square by the body, not the blade
The common mistake is to hold the blade and push the body into the edge. That puts pressure on the joint between blade and body, and it lets the body lift. Hold the body with your thumb and first two fingers, press it flat to the face, and let the blade rest on the face of the board. The blade is a reference, not a handle. It sounds like a small thing until you watch someone rock the body off the edge and then blame the square for the line.
On a vertical face, like the end of a leg, set the body on the end grain and let the blade drop down the face. Keep your thumb on the body and your pencil hand braced against the board. If your hand is floating, the line will wander. I mark with a sharp pencil most of the time. On a joint that has to close, I use a marking knife against the blade. Either way, the square stays still and the pencil or knife moves. That is the whole discipline. The tool does not move once it is set.
The IRWIN square also works as a depth gauge and a marking gauge. Slide the blade to the depth you need, lock it, and use the end of the blade to transfer that measurement. I use that for drawer bottoms and for setting a hinge gain on a cabinet door. It is not a separate tool. It is the same square doing a second job, which is why it earns its place on the bench instead of in a drawer.
The flip test is the whole argument: if the blade reads the same from both faces, the square is true enough for furniture. If it does not, put it down.
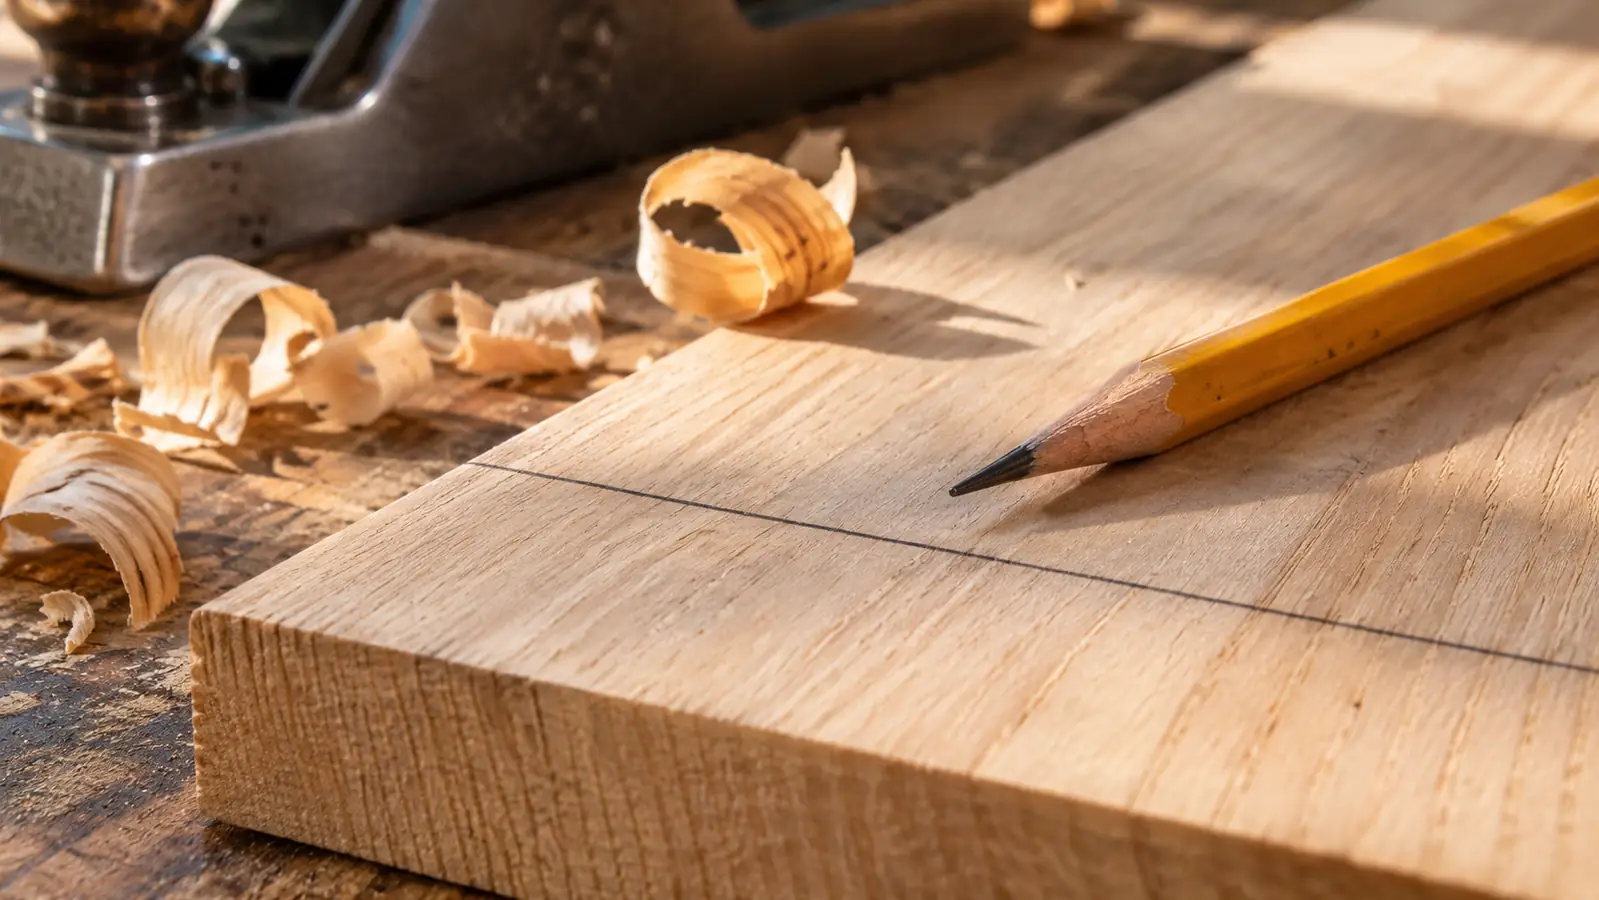
Step 4: Mark once from the same registration
A square line should be one line, not a series of short strokes that you hope meet. Set the point of the pencil at the end of the blade, hold the blade flat, and draw the line in one pass. Keep the pencil at a low angle. If you stand the pencil up, the point will follow the bevel of the lead and the line will sit off the blade by a 1/32 or more. On a small joint, that is the difference between a tight shoulder and a visible gap.
For a 45-degree cut, use the angled face of the body. Set the body against the face edge, confirm the blade is sitting on the 45, and mark. I use that for mitered corner blocks and for cutting small chamfers on the ends of legs. The scale on the blade is in 1/16-inch graduations. I use it for setting a width, not for drawing the square line itself. The line comes from the body against the true face. There is a difference between measuring with a tool and registering off it, and the combination square does both jobs cleanly.
On the shaker end tables this year, I marked every leg from the same face edge and the same end. I did not mark one leg from the left and the next from the right. That is how you get a table that rocks. The square does not know which face you picked. It only reports the angle you gave it. Four legs marked off four different faces will give you four slightly different tables, and you will not find out until the apron is glued and the whole thing is sitting on the floor.
Step 5: Check the line before the saw starts
Before I cut, I flip the square to the other side of the line and look at the gap. If the blade sits on the line from both sides, the line is square to the face. If there is a wedge of daylight, the line is off. I also check the line against the opposite edge of the board. On a leg, I mark all four faces and then carry the line around with the square, so the corner of the cut has a line to land on from any direction.
The last check is the cut itself. I make a test cut on a scrap of the same thickness, stand it on the table saw and check it with the square. If the scrap is square, I cut the good stock. If it is not, I fix the setup before the good stock is on the saw. That habit has saved more walnut than any single tool in the shop. A test cut takes 30 seconds on scrap. A mis-cut tabletop leg takes a new board and an afternoon.
The IRWIN square has a limited lifetime warranty, which is fine, but a warranty does not true a line. The check does. Three years in, the square is still the first tool I pick up after the pencil. The sequence is always the same: check the square, pick the face, hold the body, mark once, check the line. When that becomes a habit, you stop thinking about your square and start thinking about the joint. That is where the attention belongs.
What Else Helps
Two other things make this easier. First, a sharp pencil or a marking knife. A dull pencil can put a line a 1/16 inch wide, which is the whole tolerance on a small joint. Second, a straight edge you trust, not a piece of scrap. I keep a 24-inch steel rule for checking the square and for checking a line after I mark it. A pencil sharpened to a long point is worth more at the bench than most people give it credit for.
The IRWIN combination square is the one on my bench, and a 12-inch blade suits most furniture parts. If you work with wider panels, mark from the same face and slide the square. If you are used to a speed square, the two tools do different jobs, and there is a place for both in a shop. Still, the point of the how-to is not the purchase. It is the habit of checking before you cut, and the habit costs nothing.
One square, one face, one line you can trust
If your layout still runs off a tape and a speed square, start with the tool that gives you a repeatable 90 and 45. The IRWIN combination square is the one I keep within reach.
Amazon See the IRWIN Combination Square on Amazon →