

I bought a six-piece set of Narex bevel-edge chisels the winter after I retired, and the first thing I did was take the 12 mm one to a pine offcut and try to pare a hinge mortise. It skated. The factory grind is 25 degrees and the steel is hard at Rc 59, but a ground edge is not a sharp edge. Before that winter I had been making do with hardware store chisels and sandpaper stuck to a plate of glass, and I was tired of it. The tool that has done the sharpening ever since is a Norton combination oil stone. This is the order I use, and the reason for the order.
Most of what goes wrong with hand sharpening happens before the stone ever gets touched. A chisel that will not cut usually has a back that is not flat, or an angle that drifts because it is being held by hand, or an edge that was never taken far enough on the coarse grit to get back to good steel. If you have been getting by with the worn-out hardware store stone off a job site, you know the symptom: the edge looks polished and still will not pare end grain. The Norton oil stone is an 8 by 2 by 1 inch corundum bench stone with a coarse 100 grit side for repairing edges and a fine side for honing. Both sides earn their keep in this sequence.
Coarse Side to Repair the Edge, Fine Side to Finish It
The Norton combination oil stone is an 8 by 2 by 1 inch corundum bench stone, 100 grit on one side for bringing a damaged edge back and a fine side for honing. Lubricated with light honing oil, never water. It is the stone that has sharpened every chisel and plane iron in my shop.
Amazon Check Today's Price on Amazon →Before You Touch Steel: What Needs to Be on the Bench
Four things, and none of them are complicated. The stone. A light honing oil, never water, because water will not carry the swarf off a corundum stone the way oil does and it will start rust on the steel before you are finished. A side-clamp honing guide, the simple kind with a roller and a knob, so the angle is set by the tool instead of by your wrists. And a leather strop loaded with compound for the last few passes. Add a rag, a straightedge, and a shallow tray to sit the stone in so oil does not walk across the bench.
My shop is a two-car garage with a concrete floor and one small electric heater, so it is cold in January. Corundum does not care about cold, but honing oil gets thick, so I keep the bottle on a shelf near the heater and let the stone come up to room temperature before I start. A cold stone with cold oil does not cut the way it should, and you will press harder to make up the difference, which is how edges get rolled over.
Step 1: Flatten the Back Before You Touch the Bevel
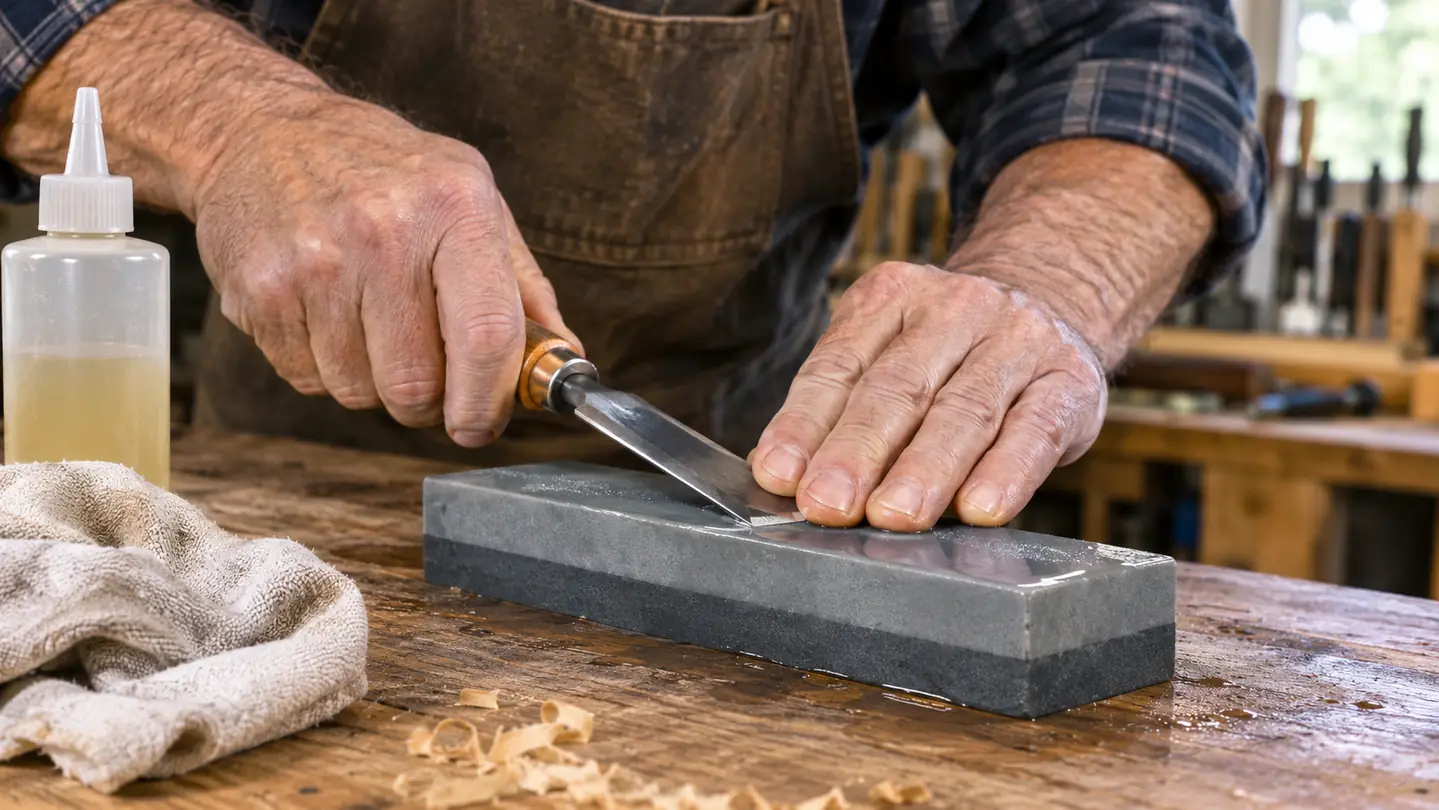
A chisel is two surfaces meeting at a line. The bevel gets all the attention, but the back has to be flat at the edge or those two surfaces never meet cleanly. Narex chisels come with backs that need work. I lay the back flat on the coarse 100 grit side, fingers spread across the blade, and work it in a figure eight so the wear spreads over the stone instead of hollowing one spot. Light pressure. Let the grit do the cutting.
The figure eight matters on a bench stone this size. Eight inches by two inches is a working surface, not a slip stone you drag a knife across for ten seconds. Small circles in one spot, or a straight push down the middle, will dish the stone over time, and a dished stone cannot flatten a back. I check the stone for flatness once in a while with a straightedge and a light behind it, and when it needs it I flatten it on wet-or-dry paper on the glass plate.
You are done with the back when the scratch pattern is even across the last half inch behind the edge and the reflection off the steel is uniform. Not polished. Uniform. I do this once, when a chisel is new, and after that the back only needs a few light passes on the fine side to keep it. The 26 mm chisel in my set took the longest. Across all six, the flattening and honing added up to about an hour before the first one would pare end grain the way it should.
Step 2: Set the Angle and Lock It in the Guide
The Narex chisels come ground at 25 degrees and that is the angle I keep on the bevel. In the guide, I hone at 30, which puts a small micro bevel right at the tip. That does two things. It saves you from having to polish the whole bevel every time you touch up, and it leaves a little more steel behind the edge for chopping. If you only ever pare, hone at 25 and be happy. I chop mortises with a wooden mallet, so I want the support.
Setting the guide is the part people rush. The blade goes into the clamp with the back against the bed, and the projection is set with the roller sitting flat on a reference surface. Once the knob is snug, check it by eye from the side before you touch the stone. If the bevel sits flat through the whole stroke, the setting is right. If it rocks, the blade is not square in the clamp and it needs to come out and go back in. Two minutes here saves you grinding a skewed bevel you then have to correct.
Years ago I used diamond plates at a woodworking class, and they cut fast and stay flat. I do not own one. What I like about the oil stone for a chisel is that it tells you what is happening. You can feel the bevel settle flat, you can watch the oil darken as it lifts steel, and the sound changes once the whole bevel is contacting. A diamond plate feels much the same whether you are flat or tilted, and for someone learning that is a hard way to find out.
Step 3: Raise a Burr on the Coarse Side
Oil the coarse side. A film, not a puddle. Lay the bevel flat, roller on the stone, and push the chisel away from you with two fingers pressing down over the bevel. Ten strokes, then check. What you want is a burr, a thin wire of steel folded over onto the back side of the edge. Run a thumb across the edge, never along it, and you will feel it catch. That burr is proof the two planes have finally met.
If there is no burr after ten strokes, do not press harder. Look at the bevel instead. If the scratches only show at the tip, your angle is too steep. If they only show at the heel, too shallow. If they show everywhere but no burr comes, the edge was further gone than you thought and you keep going. The 100 grit side is for exactly this, taking off enough steel to get back to clean metal after a chisel has been dropped or used to pry something it should not have been used to pry.
This is where the old hardware store chisels in the bottom of my box live. They open paint cans, scrape glue and take the abuse, and they get sharpened on the coarse side and stop there. The Narex chisels are not treated that way. They pare and chop joints and nothing else, and they are always struck with a wooden mallet, never a steel hammer, because there is no steel hoop on those beech handles to take it.
Three years on one stone: the coarse side still raises a burr on a 26 mm Narex chisel, and the fine side still leaves an edge that pares end grain clean.
Step 4: Hone on the Fine Side
Flip the stone, or turn it end for end if it is sitting in a tray, and oil the fine side. Same guide setting, same angle, lighter pressure. The burr you raised on the coarse side is both your marker and your goal, and what you are doing now is moving it, not removing it. Twenty or thirty passes, checking the back after every handful. When the burr has crossed from one face to the other and back again, the bevel and the back are meeting at a single clean line.
The fine side is where you find out whether Step 1 was done properly. If the back was not flat, you will chase that burr around for ten minutes and never get it even. If the back is flat, the fine side takes almost no work and the edge comes up fast off the Norton stone. That is the whole reason the flattening gets done first and only once.
Do not bear down here. Pressure rolls the edge slightly and you end up with a burr that feels sharp and folds on the first cut into hard wood. Let the weight of your hands do the work. The oil should stay thin and start to darken as it lifts steel. When it stops changing color, you have stopped cutting and it is time to move on.
Step 5: Strop, Then Test on End Grain
Ten passes on the leather strop, back flat on the leather, pulling away from the edge. That clears the last of the burr without grinding a new bevel. Then wipe the chisel down. Honing oil on a beech handle is harmless. Honing oil on the piece of cherry you are about to pare is a finish problem you will be sanding out later.
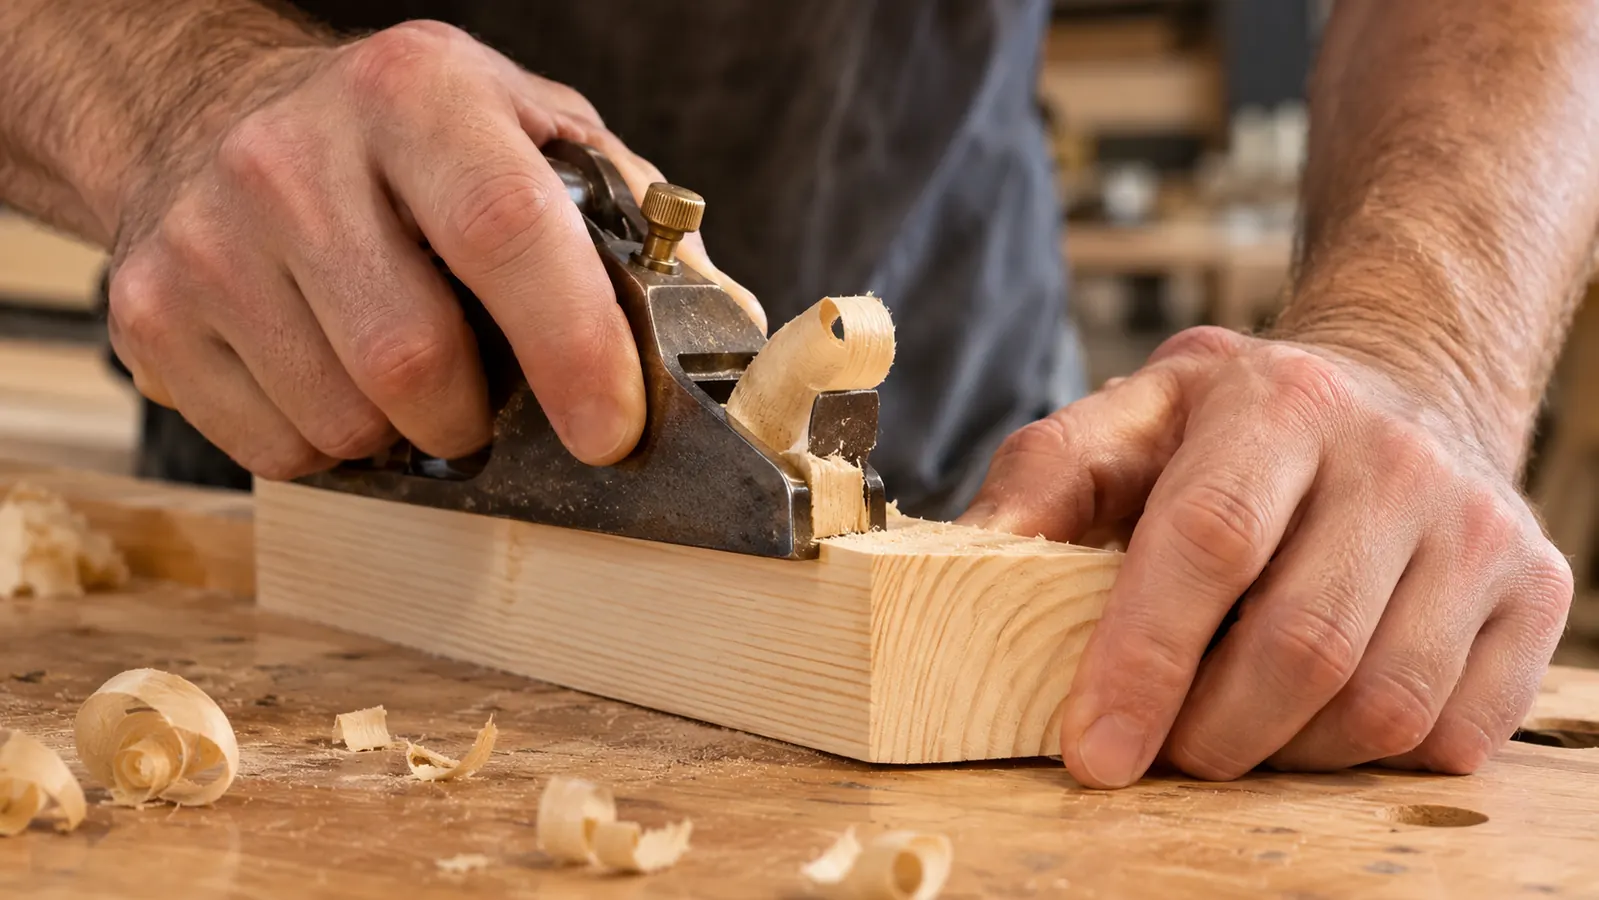
The test is a pine or poplar offcut in the vise, end grain up. A sharp chisel pares a clean curl across the end grain with light hand pressure and leaves a surface that reflects light without torn fibers. A chisel that is close but not quite there will skate or crush the fibers instead of slicing them. Do not test on the walnut for Marit's table. Test on scrap, every time.
If it skates, go back to the fine side for five passes, strop, test again. If it crushes, the edge is rounded and you need to reset the micro bevel with a few firm passes on the fine side before stropping. Most of the time one return trip fixes it. I sharpen at the start of a project, touch up on the fine side in the middle of one, and otherwise do not think about it.
What Else Helps
Keep the stone in one place and keep it oiled. I have had the same Norton oil stone for three years and it has never been stored dry or left sitting with swarf on it. A rag across the surface after each use, a fresh film of oil before the next, and a flatness check with a straightedge once in a while. That is the entire maintenance routine. It is 1.5 pounds of corundum, so it does not need coddling, but it does need to stay flat and clean to do its job.
The other thing that helps is having somewhere to put the chisel down between passes. My bench is maple and I built it myself, and there is a strip of scrap leather along the back edge so an edge does not get chipped when I set the tool down. The chisels live in the wooden presentation box the set came in, which keeps them from rolling into each other in a drawer. Small habits, but they are the difference between sharpening once a project and sharpening once a week.
And cut away from yourself. Keep both hands behind the edge. A chisel that will pare end grain will also open a finger, and it does not care that you have been doing this for 34 years. I keep a strip of bandage in the bench drawer and I would just as soon not need it.
One Stone, Both Jobs, Three Years on My Bench
The Norton combination oil stone is an 8 by 2 by 1 inch corundum bench stone with a 100 grit side for repairing an edge and a fine side for honing. Add light honing oil, a side-clamp guide and a strop, and you have the entire sharpening setup I use on six chisels and every plane iron in the shop.
Amazon Check Today's Price on Amazon →